There are 2 primary ways to enable the Divi Visual Builder. One way is from the WordPress dashboard. The other way is to activate it from the web page itself. Obviously, you must be logged in to WordPress and have appropriate editing permissions for both methods.
Method One:
Enabling Visual Builder From the Dashboard
Note: This method requires that the page you want to edit has already been opened and edited in the Divi Builder. If you have never opened this page in the Divi Builder, please use the second method below.
Log In to WordPress
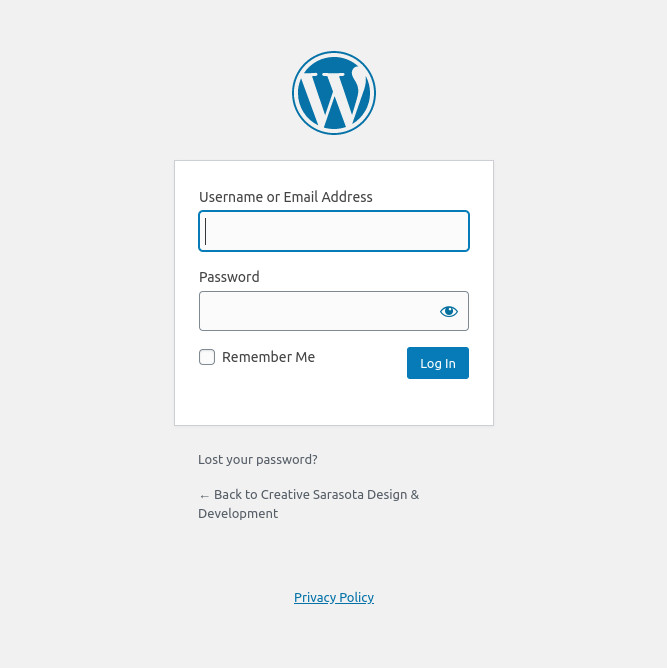
In a browser, go to http://YourDomainName.com/wp-admin
Log in with your username & password.
Enable the Visual Builder
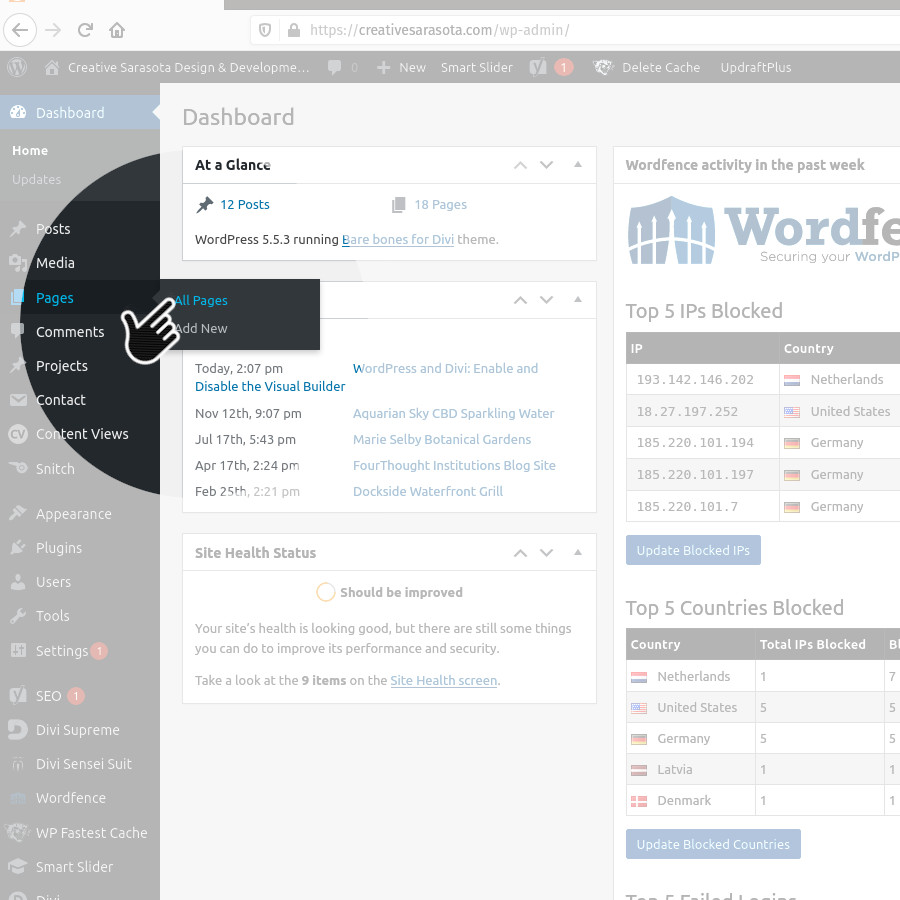
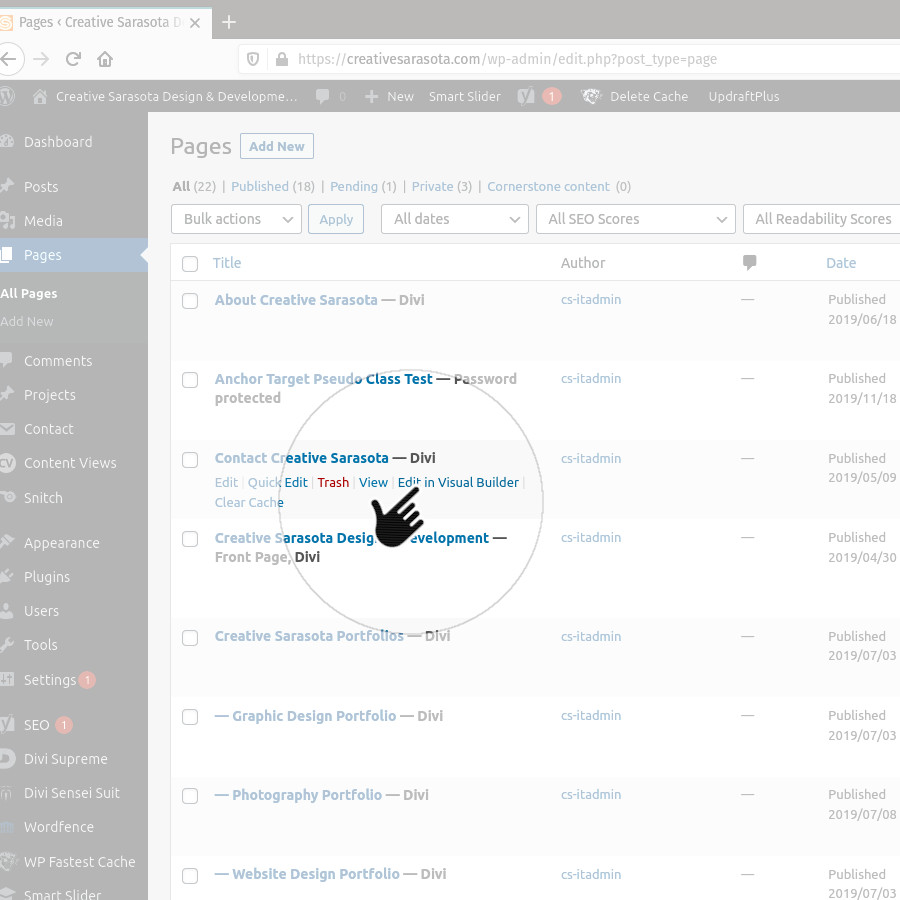
From your page list, mouseover the page you want to edit. Below the page title you will see several options. Click the “Edit in Visual Builder” option.
Once the Visual Builder has been loaded, make your changes to the page and save.
Exit the Builder
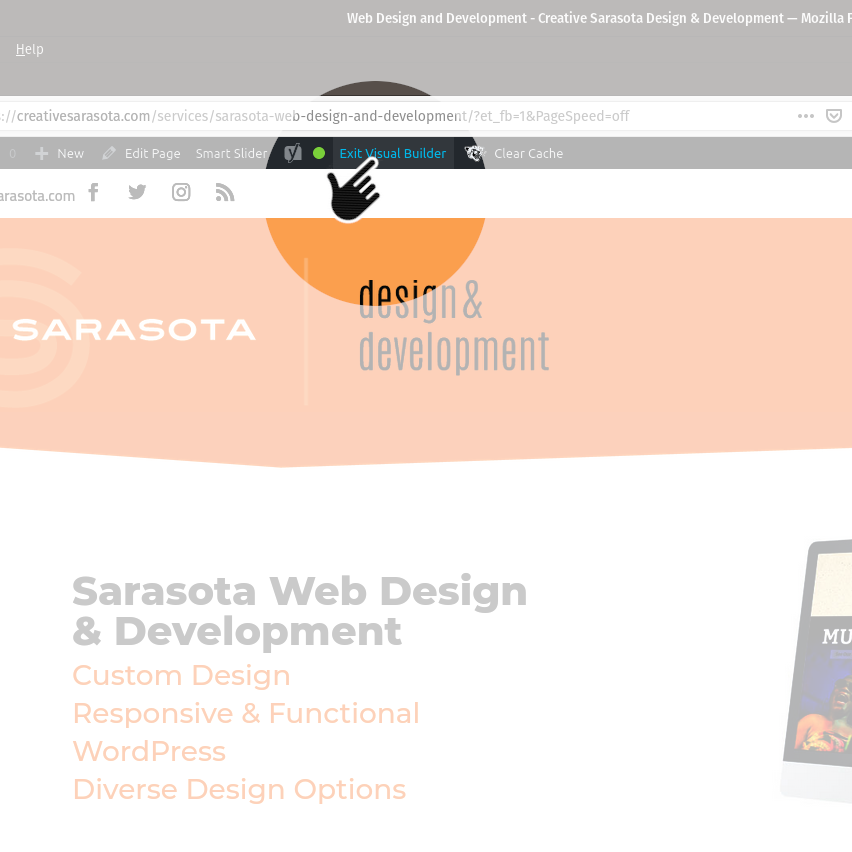
Once you have saved your changes, click the “Exit Visual Builder” Link in the upper left-center of the window to exit the editor.
Method Two:
Enabling Visual Builder From the Web Page
Note: This method assumes you have the “Show Toolbar when viewing site” checkbox checked in your user profile settings.
Visit Your Website
Log in to WordPress.
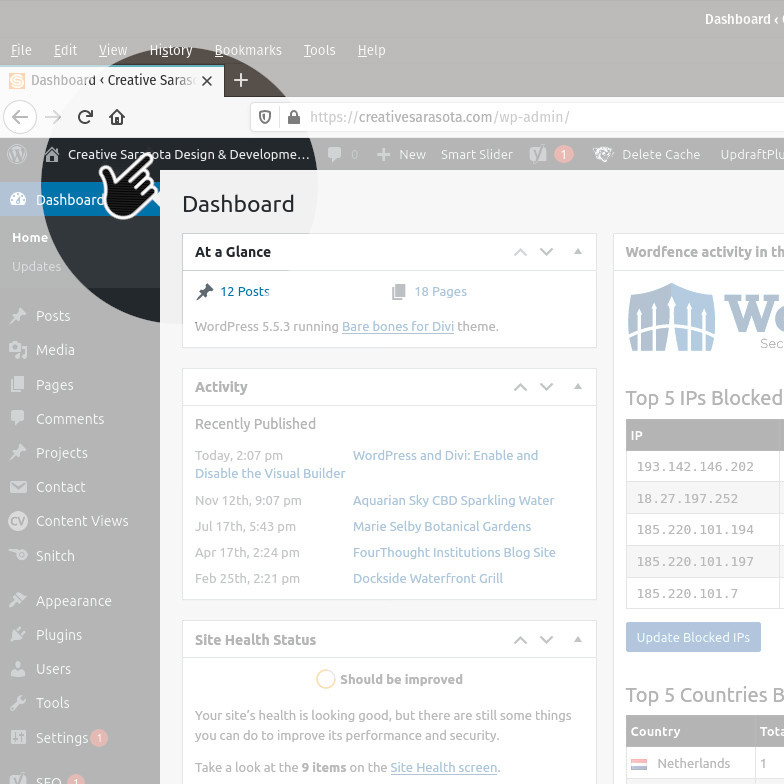
Once logged in to the WordPress Dashboard, click on the link in the upper left corner that states your organization name.
This will take you to your website.
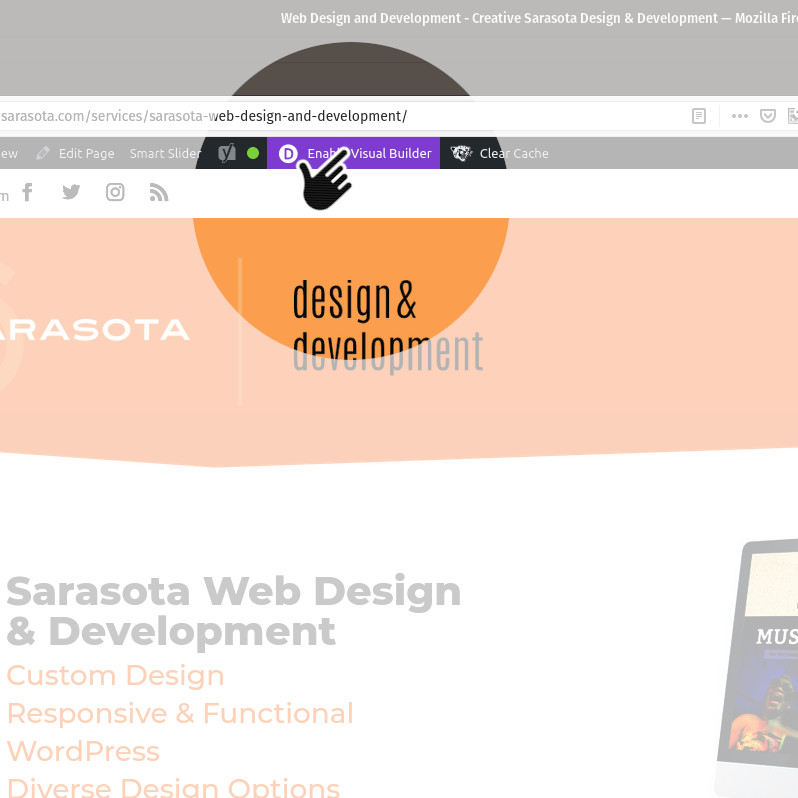
Click on the “Enable Visual Builder” at the top of the page.
Once the Visual Builder has been loaded, make your changes to the page and save.


